The Reclaimed Wood Process: Turning Old Barns Into Reclaimed Wood Paneling and Flooring
10 Steps to Reclaiming Rustic Barn Wood & Turning It into Tongue & Groove Paneling & Flooring
Reclaiming Old Barn Wood
Finding an old barn to reclaim locally is a rare and exciting process. We located this old barn (pictured below) in the Rogue Valley in Southern Oregon, and began the process of carefully dismantling the structure. The entire process took about 2 weeks to complete, carefully detaching and lowering sections of the barn one at a time.
Most barns in the US were built in the 19th century, and most likely included oak, fir and redwood planks. This particular barn was used to store hay, and even had the old hay bale elevator in working order. The structure initially used only wooden dowels and joinery and stood as a completely timber framed structure.
Turning old planks of barn wood into reclaimed wood flooring and paneling is a delicate and intensive process. Wood used for old barns over 100 years ago provide lumber in dimensions that are hard to come by today. Acquiring old growth Douglas fir at 6” by 12” dimensions are almost impossible to come by today. Loggers at the time these barns were constructed had the ability and freedom to choose the cream of the crop for timber, often choosing large old growth trees to harvest, which is oftentimes illegal nowadays to help preserve these heritage forests (for good reason). Here’s a rundown on the process of reclaiming wood from a barn, and transforming it into premium tongue and groove flooring and paneling.

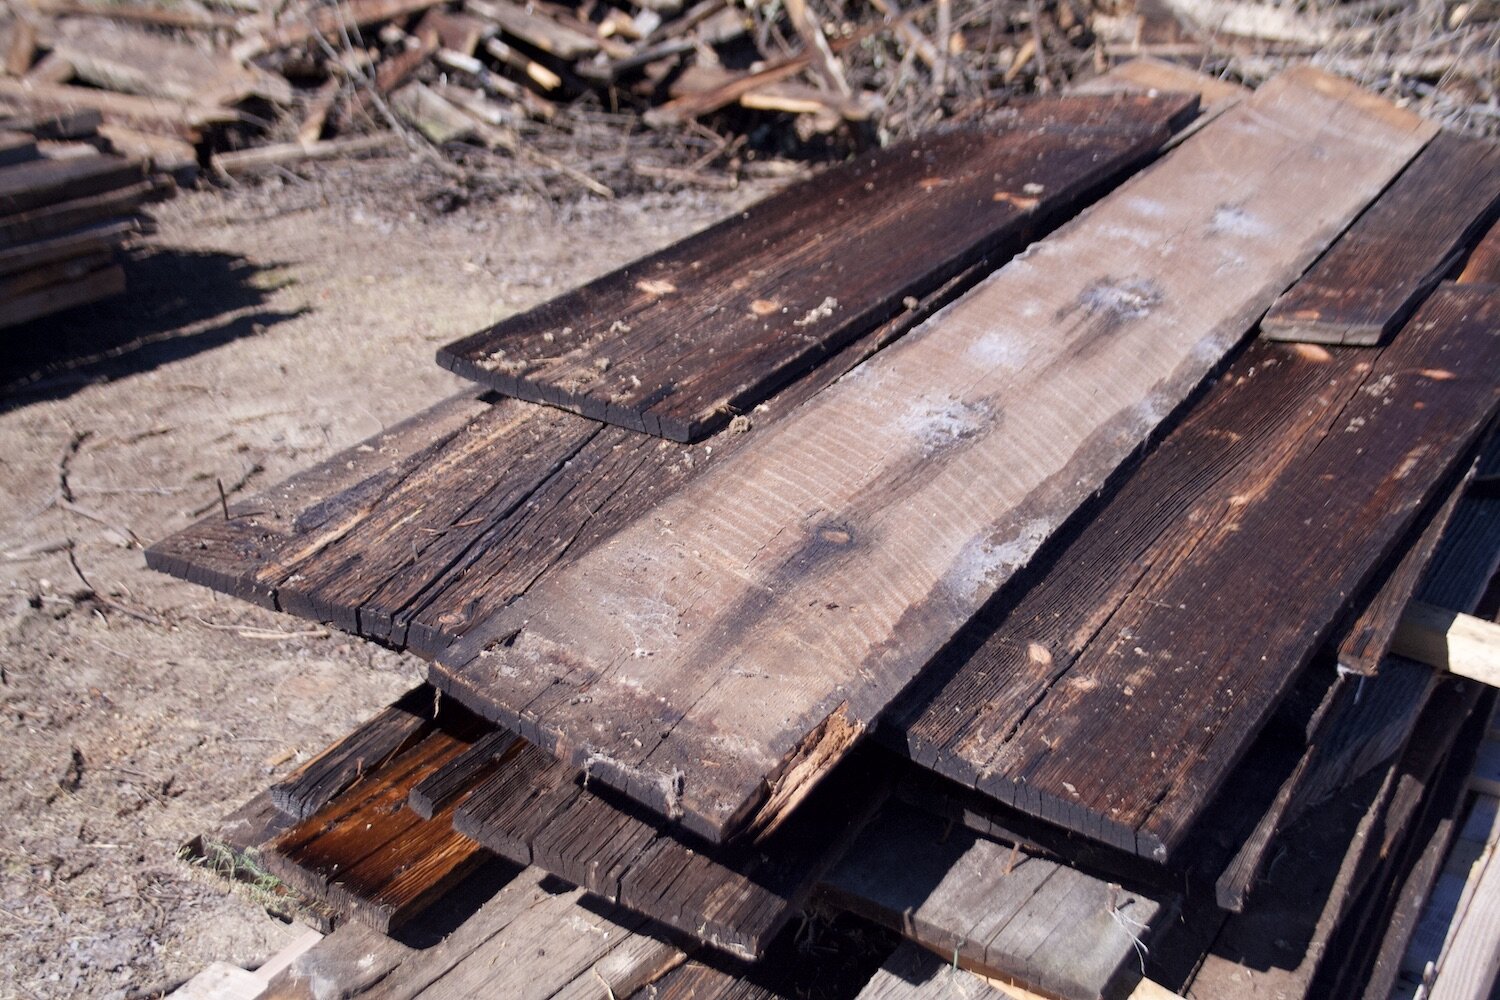
This old barn located in Southern Oregon took about 2 weeks to fully dismantle and carefully sort and stack the wood.
1. Locate a reclaimed wood source
Finding the right source is a challenge. It can be difficult to find a source with wood of the right dimensions and desired species. Observing the entire lot and assessing the overall quality of the wood is important when deciding on a source. Communicating with construction and demolition companies is helpful to identify which structures are deemed for removal.
2. Identify the wood species and quality
Old barns were made of a variety of hardwood and softwood species, depending on the region. Oak, elm, pine, Douglas fir, hickory, beech and maple were common varieties of wood used for barn construction, and each provided different building qualities and characteristics. It can be difficult to identify wood species if the weathered and aged patina is intact. Using factors such as growth rings, color, density and grain patterning can help determine if the wood is a hardwood or softwood. The wood used to build this barn is most likely cedar, used for siding, and Douglas fir, used for the structural elements and posts.
3. Start the dismantling process
This process can take anywhere from a couple days to weeks, depending on the structure, accessibility and team size. The team working on this barn started at the top, carefully removing the roofing material and rafters before dismantling the siding and framework. Each section was carefully sawed into moveable pieces, and lowered slowly to the ground to be sorted. The barn pictured above took about 2 weeks to fully dismantle and carefully sort and stack the wood.
4. De-nail the boards and remove any other materials
Much of the wood is riddled with old nails, metal brackets, staples and other materials used to reinforce the barn over time. Many of the old nails and metal fasteners were made by hand, giving us a window into another time. Everything must be removed before re-milling the wood, which is a tedious and careful process that must be done by hand.

Metal nails, fasteners and any other material must be removed by hand before milling and processing the wood
5. Kiln Dry the Wood
Kiln drying wood is an essential part of the process, as it helps regulate the wood’s moisture content and protects the wood from insects and fungi. Not only does kiln drying wood remove any living organisms within the wood, but it also helps prevent it from future biological deterioration from insects or fungi. Some reclaimed wood could have resident bugs and fungus within it, making kiln drying essential for producing high-quality reclaimed wood paneling and flooring products.
The kiln drying process involves drying the wood within a chamber that can regulate temperature, humidity and air flow to reduce the wood’s moisture content to a target point. There are many types of wood drying kilns, including conventional kilns, dehumidification kilns, solar kilns and vacuum kilns. Dehumidification kilns are most popular, as they recycle the heat through the system rather than discharging it, making more economical and environmentally-friendly. The kiln drying process also ensures that the wood will be less likely to warp and cup, as it is slowly dried under stable conditions.
6. Sort the wood
Since reclaimed wood can come in a variety of dimensions, species and grades, it needs to be sorted. Oftentimes there are parts of the wood that need to be trimmed off due to prior damage or wear, including splits, cracks and insect activity. Sorting it initially helps organize the planks for the milling process.
7. Mill the wood
Once the wood is sorted, it’s ready to be milled to the specified dimensions. Since reclaimed wood has oftentimes already been milled, the previous dimensions are integral to the finished product. Besides that, most of the milling process is similar to milling new wood, where the planks are run through a jointer and planer to flatten the sides, and then ripped lengthwise to specified widths.

8. Mold the wood with a tongue and groove profile
After the wood is milled to dimension, it is then molded with a tongue and groove profile, which allows for a seamless and easy installation of the paneling. A molder, or wood shaper, uses a vertical spindle to cut a slot (the groove) and shape the ridge (the tongue) to create panels that sit into one another. This hides any nails or screws used to adhere the panels to a surface, creating a clean look when installed.
9. Sand the wood
Once the wood is at the specified dimension, the wood is sanded before adding finish. If there is any residual paint or material on the reclaimed wood, sanding removes them, creating a clean surface. Sanding the wood makes it silky smooth and prevents the wood from splintering as easily. It also helps prepare the wood for finishing. Creating an even surface allows a finish or strain to uniformly absorb into the wood, creating a smooth coating.

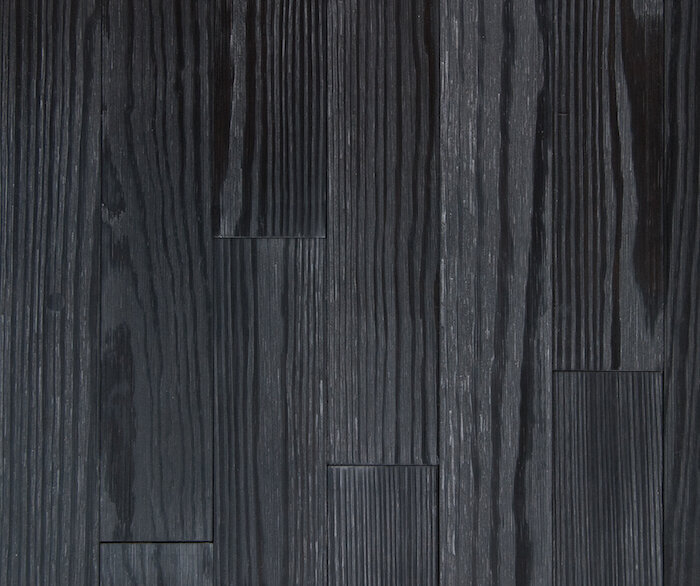
10. Finish the wood
Though some may choose to use reclaimed wood paneling and flooring unfinished, there are many types of wood finishes that help protect and enhance the look of the wood. Oil, wax and polyurethane finishes are among the most popular kinds, which have specific benefits and applications depending on the desired result. Speciality finishes and stains can provide a rainbow of color, texture and look - the sky is the limit! Once the desired finish is applied, the reclaimed wood is ready for installation as wall or ceiling cladding, or solid or engineered wood flooring.
Transforming barn wood into reclaimed flooring and paneling is an extensive process that requires planning, organization and care every step of the way. The process is worth every step, as the wood speaks for itself! Reclaimed wood has rich, embodied energy and a big personality, and gives us a timestamp from days long gone. Within every plank of wood, there is history, hard work and unmatched quality.
For more information about our process, please email us at info@anthologywoods.com or give us a call at 1.800.293.8178.